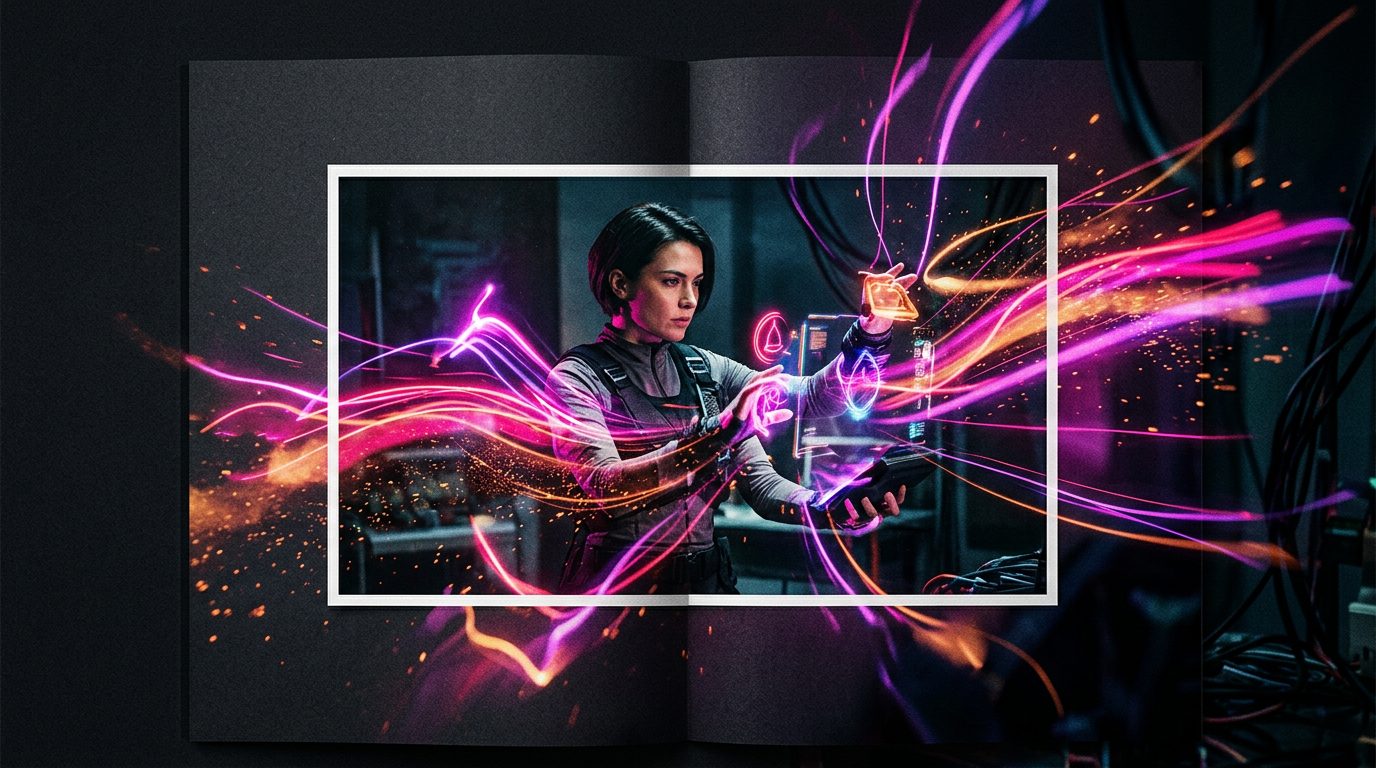
Why the extra step is worth it
Pure text-to-video gives you one shot at composition, lighting, character, colour and motion all at once. You almost always lose one of them. Splitting the problem — nail the frame first, then animate — is how you get shots that look intentional.
Step 1 — the hero frame
Use Flux 2 Pro, Seedream 5 or Nano Banana 2. Prompt for the exact first frame of your shot — including where the subject is looking, how the light falls, the aspect ratio. Regenerate until this single frame is right. This is cheap.
Step 2 — light retouch if needed
If one detail is wrong, edit it (Flux 2 Pro Edit, Nano Banana 2 Edit). Don't roll the whole image again for a small fix.
Step 3 — animate
Feed the finalised frame to Kling 2.5, Veo 3.1 or Seedance in image-to-video mode. Your prompt now only describes motion — 'slow push-in, subject blinks at 2s, dust settles' — not composition. Higher hit rate, lower cost.
Step 4 — audio (optional)
If you need dialogue or foley, add it in the same generator when supported (Sora 2 doesn't do image-to-video with audio yet — use Veo 3.1 for audio + i2v, or layer separately).
Step 5 — upscale
Only the final keeper. Never intermediate rolls.
Try image-to-video
Put this into practice in the studio — under a minute to your first result.
Try image-to-video →